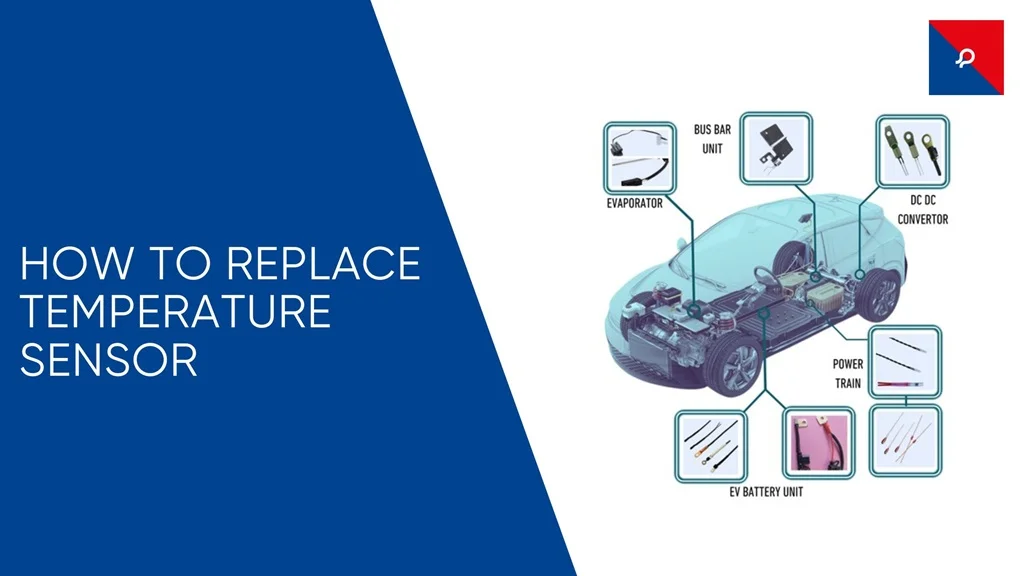
If your car's temperature gauge is acting up, or you're noticing signs of engine overheating, it might be time for a coolant temperature sensor replacement. This sensor plays a crucial role in monitoring your engine’s temperature and sending that information to the car’s computer. A faulty sensor can cause poor fuel efficiency, overheating, and even engine damage if ignored for too long.
In this guide, we’ll walk you through how to replace a temperature sensor in a simple and easy way. Whether you're a beginner or have some experience with car repairs, this step-by-step guide will help you get the job done efficiently.
Signs of a Failing Temperature Sensor
Before diving into the replacement process, let’s take a quick look at the symptoms of a bad coolant temperature sensor:
- Check Engine Light is On – If the sensor isn’t working properly, it can send incorrect data to the engine control unit (ECU), triggering the check engine light.
- Overheating Engine – A faulty sensor may not detect rising temperatures correctly, leading to overheating.
- Poor Fuel Efficiency – Your car may burn more fuel than necessary because the sensor isn’t sending accurate temperature readings.
- Hard Starts and Rough Idling – Incorrect temperature readings can affect the fuel-air mixture, making it hard to start your car or causing rough idling.
- Black Smoke from Exhaust – If the sensor fails, the engine may burn excess fuel, leading to black smoke from the exhaust pipe.
If you notice any of these issues, replacing the coolant temperature sensor might be the solution.
Tools and Materials Needed
Before starting the replacement process, gather the following tools:
- New coolant temperature sensor
- Wrench or socket set (usually 19mm or 22mm, depending on your vehicle)
- Coolant (to refill if needed)
- Drain pan (to catch any spilled coolant)
- Teflon tape (optional, for sealing the sensor)
- Safety gloves and goggles
Now that you have everything ready, let’s move on to the step-by-step replacement guide.
Step 1: Locate the Coolant Temperature Sensor
The coolant temperature sensor is typically found near the thermostat housing or on the cylinder head. The exact location varies by vehicle, so it’s best to check your car’s manual for specific details.
To find it:
- Open the hood and locate the radiator.
- Look for the thermostat housing, which is usually where the upper radiator hose connects to the engine.
- The sensor is often screwed into the housing or nearby on the engine block.
Once you've located the sensor, you’re ready for the next step.
Step 2: Drain Some Coolant (If Needed)
Since the sensor is in the cooling system, removing it may cause coolant to spill. To prevent a mess:
- Place a drain pan under the car to catch any coolant that leaks out.
- If needed, loosen the radiator drain plug or remove the radiator cap to relieve pressure.
- Drain a small amount of coolant so that the level is below the sensor.
This step helps avoid excessive coolant loss when removing the sensor.
Step 3: Disconnect the Sensor’s Electrical Connector
- Locate the electrical plug connected to the temperature sensor.
- Gently press the tab on the connector and pull it off.
- If the connector is stuck, wiggle it slightly to loosen it and avoid pulling on the wires directly.
Once disconnected, set the connector aside.
Step 4: Remove the Old Temperature Sensor
- Use a wrench or socket to carefully loosen the sensor by turning it counterclockwise.
- Once loose, unscrew it by hand.
- Be prepared for a small amount of coolant to leak out.
If the sensor is stuck, apply a bit of penetrating oil and let it sit for a few minutes before trying again.
Step 5: Install the New Temperature Sensor
- Compare the old and new sensors to ensure they match.
- Wrap Teflon tape around the sensor’s threads (if required, check the manual).
- Thread the new sensor into place by hand to avoid cross-threading.
- Use a wrench to tighten the sensor snugly, but don’t over-tighten, as this can damage the threads.
Step 6: Reconnect the Electrical Connector
- Take the electrical connector and plug it back into the new sensor.
- Ensure it clicks into place securely.
- Double-check that there are no loose connections.
Step 7: Refill Coolant (If Needed)
- If you drained the coolant earlier, pour fresh coolant into the radiator or reservoir.
- Start the engine and let it run for a few minutes to circulate the coolant.
- Check for leaks around the sensor area.
- If the coolant level drops, add more until it reaches the correct level.
Step 8: Test the New Sensor
- Start your car and let it idle.
- Watch the temperature gauge on the dashboard to ensure it reads correctly.
- Check for any warning lights or signs of overheating.
- If everything looks good, take the car for a short drive and monitor the temperature.
JR Sensors: Pioneering Precision in Sensing Technology
JR Sensors operates as a leading manufacturer of advanced temperature sensing devices with precision levels suitable for automotive applications in healthcare and industrial automation markets. The company delivers products that provide exceptional reliability through its advanced technology because of its reputation for dependable solutions. JR Sensors provides temperature sensors along with custom products through expertise that serves customers directly. JR Sensors maintains leadership in temperature sensing technology through its dedication to quality advancements and innovation.
Conclusion
Coolant temperature sensor replacement is a straightforward process that can save you money compared to taking your car to a mechanic. By following this guide, you now know how to replace a temperature sensor safely and efficiently.
If you’re unsure about any step, always refer to your vehicle’s manual or consult a professional mechanic. Regular maintenance and timely sensor replacements help keep your engine running smoothly and efficiently.
Now that your new sensor is in place, you can drive with confidence, knowing your car’s temperature readings are accurate and reliable!
Frequently Asked Questions
1. What does a coolant temperature sensor do?
2. How do I know if my coolant temperature sensor is bad?
3. Can I drive with a bad temperature sensor?
4. Do I need to drain the coolant before replacing the sensor?
5. How tight should I install the new sensor?
6. Will a new coolant temperature sensor improve my car’s performance?

Burnt Biscuits? Blame the Sensor – The Hot Truth About Your Oven’s Temperature Troubles
If your oven’s cooking like it’s got a mind of its own, your temperature sensor might be the silent saboteur. From half-baked casseroles to scorched cookies, we break down how this little sensor works, why it matters, and how to fix it—without losing your cool (or your dinner). A fun, practical guide that’s just as useful as it is digestible.

Hot Stuff: Why Your Engine Can’t Live Without an Exhaust Temperature Sensor
Think exhaust sensors are just another car part? Think again. These tiny guardians track fiery exhaust temps, protect turbos, keep emissions in check—and even help you pass that dreaded test. Dive into the witty, down-to-earth guide on how EGT sensors silently save your engine (and your wallet) every day. Bonus: You’ll sound like a car guru by the end.

Tiny Tech, Big Impact: Inside the World of Medical Temperature Sensors
Discover how medical temperature sensors work, why they're crucial in healthcare, and how health sensors are transforming modern medical diagnostics. From wearable tech to high-precision devices, learn about the different types of temperature sensor medical devices used today.